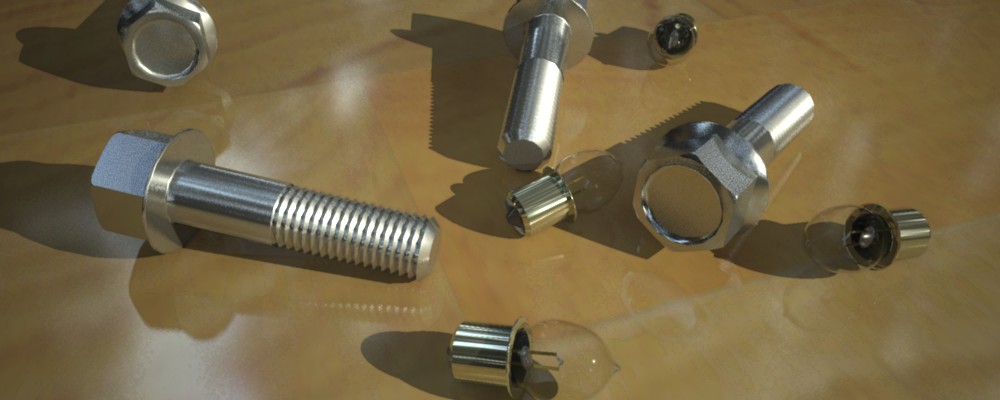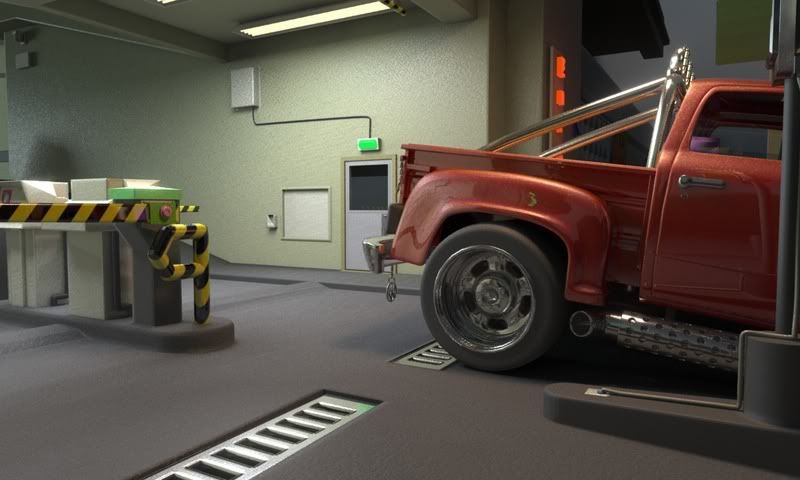
The intent for the preset is for nice quick ocean surfaces and similar. What it really shows you, is that water really doesn't have much color, it simply reflects the physical mental ray sky...
Anyway, what to do about seeing "into" the water?
The simple fix is to simply turn "transparency" up. If we turn it up to 1.0
and set a transparency color of "watery blue" we get the following result:

While this is nice, it isn't very realistic. Note how there is a very sharp transition from air to "underwater" which looks strange.
The reason for this is that we used a transparency color, and as the manual says, intensity changes "at the surface of a solid" isn't really what reality does.
If we change our transparency color back to white, and instead turn on the refraction "Color at Max Distance" (refr_falloff_on) and set the distance (refr_falloff_distance) to the depth of the pool, then enable the "Color at Max Distance" (refr_falloff_color_on) and set that color (refr_falloff_color) to the same "watery blue", we will get this result:

Now, the color at the bottom of the pool (at the designated depth) is pretty much the same, but it fades towards that color, rather than immediately hitting it at the surface.
This is nice, but now we have the opposite problem; the surface is nigh invisible.
So we can dial in a compromise. First of all, crank up your "Diffuse" to 1.0. Why? Because the energy conservation will only give as much "diffuse" as there is NOT transparency.
We used to have a diffuse of 0.1 in the original water preset. Now we have "replaced" this with transparency (since transparency is 1.0). But the water preset really uses the "diffuse" to simulate a bit of scattering in the water (see how the very top image is a bit greenish, and you can actually see the shadow "on" the water). So to get the same "look" you can set the diffuse to 1.0, and the transparency down to about 0.9 ... that leaves (1.0-0.9)*Diffuse amount of diffuse.... = 0.1 -ish.
This gives a wee bit of surface back (there is a bit of transition, that then goes darker by depth, which is both better than the hard transition in image 2, and the non-existent one in image 3), plus we actually see slightly (but just slightly) how the pool edge casts a shadow on the water.

Now, of course, a pool needs caustics.
Make sure your water surface is set to "generate caustics" both in the instance properties, and that the material is set to "use refractive caustics" (do_refractive_caustics=1) and that caustics is on in the render options.
One "trick" to quickly get nice and "sharp" caustics is to lower the number of interpolated photons. Interpolating more yields a more "smeared" caustics look - picking a lesser number of photons is a quick-and-dirty way to "sharp" caustics, but at a fairly low quality. (The non-dirty solution is to send in mo' photons).
I used only 5 (!) photons in the lookup for this render:

Of course, we are just using a bump map for surface detail, if we add an actually ripple to the surface, it looks a wee bit more realistic:

...and finally, the "round corners" shader is an ideal way to give that little "surface tension fillet" that water does around submerged objects:

I hope this is useful for your next pool render. ;)
/Z


