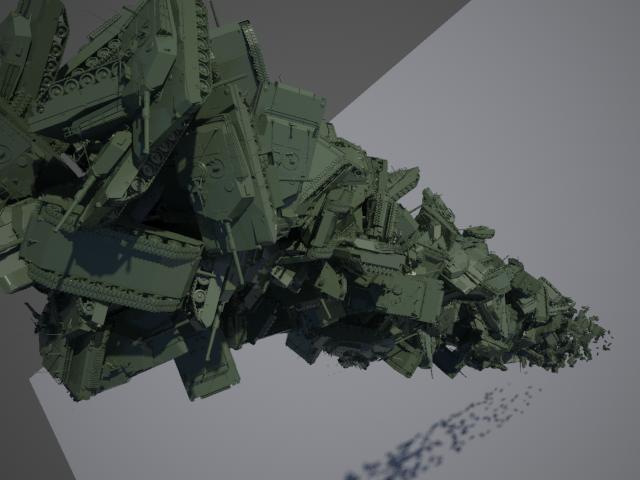
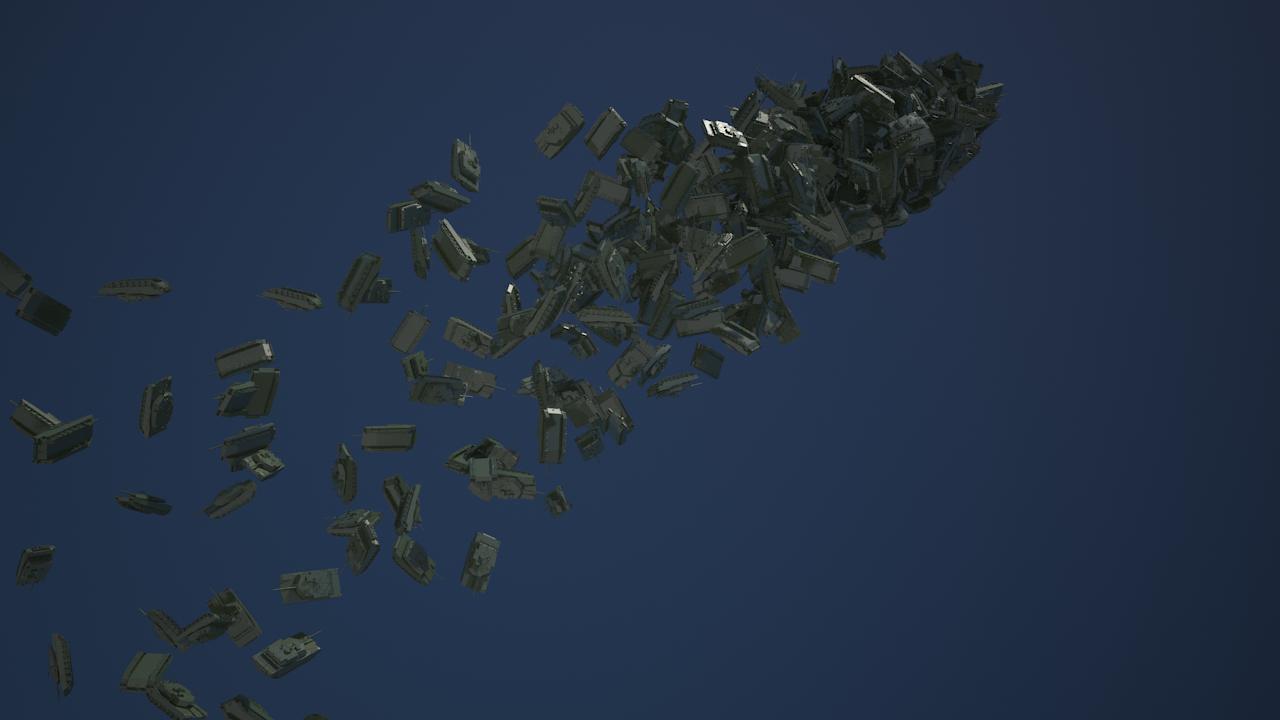
You may not have noticed, but a new release of 3ds Max has seen the light of day, known as "3ds Max 2009" (+/- a "Design" suffix).
"What, already?" I hear you ask. Yeah - indeed. This was a shortened development cycle to realign the release date of 3ds Max with other Autodesk products. Disregarding the marketing talk, it means that
stuff had to happen in six months that normally takes a year. And being heavily involved in this release, I can say that I am still sweating from the workload....
For mental ray nuts such as yourself, there's some fun new stuff in 2009. Perhaps, most notably, is the hotly requested "mental ray proxies".

What is a "mental ray proxy", you ask?
mental ray proxies
Well, technically, it's a render-time demand-loaded piece of geometry. The particular implementation chosen for 3ds Max is in the form of a
binary proxy. This means that the mental ray
render geometry data is simply dumped to disk as a blob of bytes together with a bounding box. These bytes can then be read in... but not until a ray actually touches the bounding box!
Normally, geometry lives in the 3ds Max scene, and is then
translated to mental ray data. So it means the object effectively lives twice in memory, once in 3ds Max, and once as the mental ray "counterpart". Not only does the proxies remove the translation time, it actually removes the need for the object to exist in all it's glory in 3ds Max; there is only a lightweight representation of the object in the scene, that can be displayed as a sparse point cloud so you can "sort of see what it is", and work the scene at interactive rates. Not until the object is actually needed for render is it even loaded into memory, and when it is no longer needed, it can be unloaded again to make room for other data.
One neat feature with the proxies is that they can be
animated, i.e. mesh deformations can be stored (you can naturally just move the instances themselves around normally without having to save them as "animated" proxies, as a matter of fact, instance transformation is
not baked into the file, only the
deformations).
You can think of it as a point-cache on stereoids, because the entire mesh is actually saved - which means that topology changing animation (such as, say, a fluid sim) can be baked to proxies. Naturally, it'll eat lots of disk ... but it's possible. The animation can be re-timed and ping-pong'ed (so you can make, say, swaying trees more easily).
Making proxies
Now,
creating proxies in the shipping 3ds Max 2009 is a bit of a multi-step process. I wrote a little script to simplify that, but it wasn't ready in time to make it into the shipping 2009, so you can find it here:
- Download mental ray-mrProxyMake.mcr
- Launch max, and on the MaxScript menu choose "Run Script" and pick the file. By doing this, it should now have installed itself.
- Now open your "Customize" memory, the "Customize User Interface"
- Choose the "Quads" tab
- On the left, choose the category "mental ray"
- In the list that appears, you'll find a "Convert Object(s) to mental ray Proxy". Make sure the one with the plural "s" on "Object(s)", if you find one without s it is the shipping one which is not so fun. ;)
- Drag it to a quad menu of your choice - done!
Now you should be able to right-click an object, and get a "Convert Object(s) to mental ray Proxy" option.
This allows you to convert an object and
replace the original with a mr Proxy. Note this
removes your original, replaces it (and all it's instances) with the proxy. It retains all transformation animation, children and parent links in all the instances. Now
be aware your original is thrown away - do don't do this on some file which you do not have a saved copy of your carefully crafted object!!!
You can also select
multiple objects for baking to proxies. This, however, works slightly differently. Instead of just a filename, you are asked for a file
prefix, and the actual object name in the scene is then appended to that name.... so if your prefix is "bob", then "Sphere01" is saved as "bobSphere01.mib".
Disclaimer
Now, this is an
unsupported experimental tool. Be aware it will
delete your original Object(s) - so save your original scene. It may have a gazillion of bugs, misfeatures, and may cause your computer to explode. There is no warranty that it'll even execute. But if you find it useful.... enjoy. ;)

What about particles? Pflow?
Now the next question I invariably get is this: Can you instantiate proxies as particles? I doesn't seem to work?
The story is this. Back in the day, 3ds Max had issues with handling many objects. Many polygons was easier for it to handle. And even today, I guess a million single-polygon objects will be much slower than a single million-polygon object, due to the per-object overhead.
Many (if not all) the 3ds Max tools, including particle systems, were written with this in mind. So, for example, instantiating an object into a particle system means that
the mesh itself is copied. So when you have a box, and instantiate this into a particle system w. 1000 particles, this doesn't
really make 1000 boxes. It actually makes a
single mesh containing the faces
copied off the 1000 boxes.
Since the mr Proxies
aren't meshes (they have no geometry as seen from inside max, they are helpers), they can't be copied as meshes. It won't work!
Luckily, the planet is filled with Smart People. One of these Smart People is named Borislav "Bobo" Petrov, and if you've ever used a MaxScript, you've heard of
him.
Naturally, Bobo has a solution. Check out
this post on CGTalk, where Bobo posts a script which can bake any scene instance to a particle flow particle system.
The script creates real and true instances of the objects, rather than trying to "steal the mesh faces". And by virtue of doing true instances,
it works perfectly with the mr Proxies.
I honestly have no idea what the 3ds Max community would even do without Bobo, he's such a phenomenal resource.
So, there you go. Have fun with 3ds Max 2009 and PFlow'in your proxies....
/Z

 However, what is not hard to do, is to actually write a different Phenomenon! As a matter of fact it is so simple, that I thought people would hop about doing exactly that left right and center. And indeed, Jonas, mentioned above, done exactly that. Which is why his renders are so cool.

