Showing posts with label scripts. Show all posts

2011-04-15

2012 and Unified Sampling

Hello World!

The new 2012 versions of the Autodesk products Max/Maya/Softimage are upon us, and they are loaded up with mental ray 3.9.

One of the cool new features in 3.9, which doesn't seem to be exposed in some of the products, is "unified sampling".

The new "Unified Sampling" is a new way to choose which and how many samples (i.e. "rays") are shot into a given pixel, and what position in space AND TIME those rays have.

This becomes very significant as we discuss motion blur.

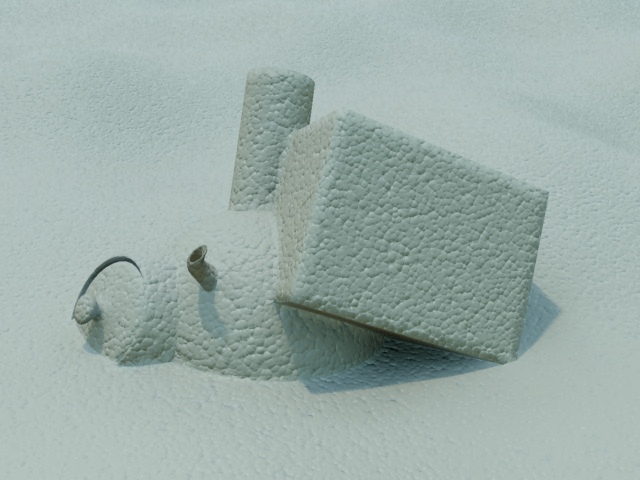
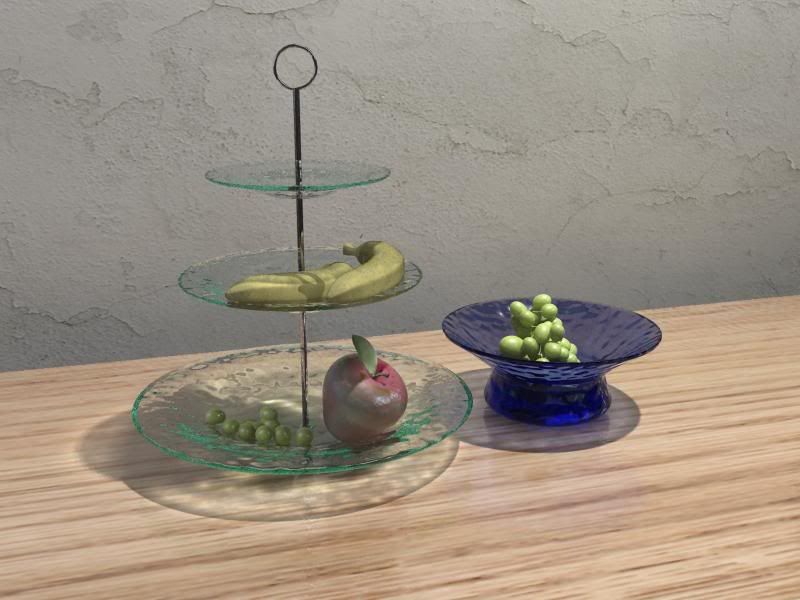
For anyone who have read the Samples Tips page over at lamrug.org knows that mental ray normally shoots rays roughly in a grid (but with jittering, so it is not exactly a grid) which it subdivides adaptively as needed, and for motion blur, mental ray actually (in the default raytracing case) shoots multiple rays into the same spatial position, but with different temporal positions (effectively rendering the subpixel sample at more than one position in time).


An image from LAmrUG.org


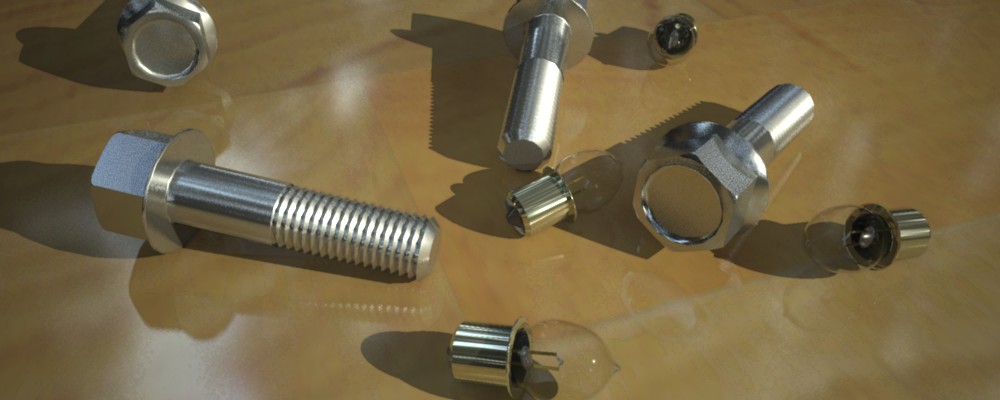
Now, Unified sampling unifies (hence the name) spatial and temporal sampling. Each ray has it's own space AND time sample. And not only that, the convergence of both is adaptive, so you simply set a lower limit on the amount of rays (say, 1) and an upper limit (say, 100) and simply turn a quality knob. This tries to adaptively resolve any noise from any source, be it soft shadows, glossy reflections, or motion blur with the SAME oversampling scheme.

Sounds nice, eh? So it's a pity it wasn't included in the 3ds Max UI, isn't it?

Luckily, the FEATURE is still there, and can be reached via Scripting.

In the Beta team, a set of people generated scripts to solve this issue (there are even several), and here are a few places you can download such scripts:

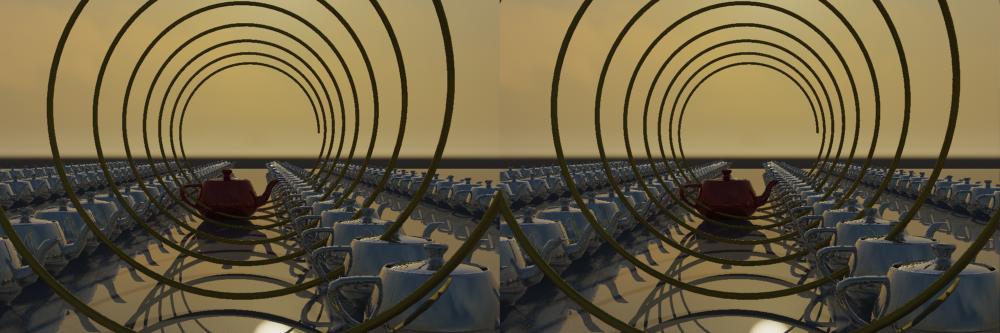
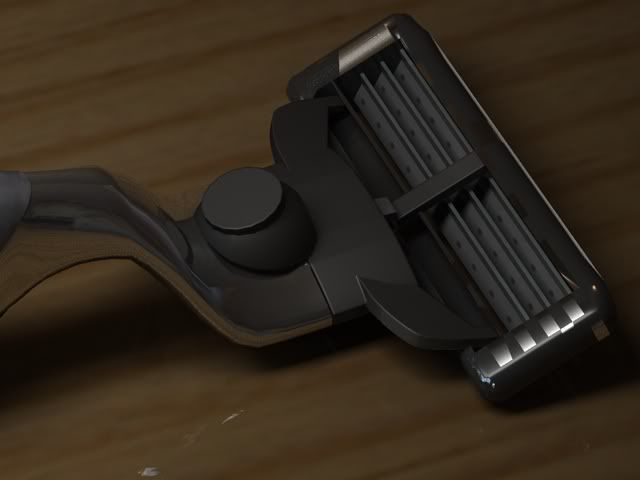
Arthur Leão and Duncan Howdin cowrote this script (pictured above) which you can download from Arthur's site
at http://dimensao3.com/al/ (file itself here)

It allows you to set the parameters and by doing this improve render times with motion blur and quality of quasi-random effects such as soft shadows and glossy reflecitons more easily than in the past.

These scripts utilize the MaxScript exposure of mental ray "string options". A problem with the string option MaxScript feature is that it the state of string options is NOT saved with the .max file. However, Arthur has solved this isse with a callback in the script ... or somesuch magic, I suck at MaxScript myself... ;)

Thorsten Hartmann (Infinity Vision) wrote another version which he has posted at http://www.infinity-vision.de/blog/unified_sampling which also contains some information and test renders.

Enjoy Unification day!

/Z

2007-08-27

Doing BIG renders in Maya

Since I wrote the below post "Doing BIG renders in max 9" I have been drowned in the question "so how about Maya"?

Well, this is most easily done from your command line, i.e. your windows command line.

Basically, if you want to render the scene "lion.mb" to a 5000x3000 pixel image, you can do that in tiles or stripes or whatever, from the command line. For example you can split it into five 1000x3000 pixel renders that you save in "c:\foo" directory, like so:

render -x 5000 -y 3000 -reg 0 999 0 3000 -rd c:\foo -im part1 lion.mb
render -x 5000 -y 3000 -reg 1000 1999 0 3000 -rd c:\foo -im part2 lion.mb
render -x 5000 -y 3000 -reg 2000 2999 0 3000 -rd c:\foo -im part3 lion.mb
render -x 5000 -y 3000 -reg 3000 3999 0 3000 -rd c:\foo -im part4 lion.mb
render -x 5000 -y 3000 -reg 4000 4999 0 3000 -rd c:\foo -im part5 lion.mb


Again, remember, if you are doing FG, to avoid seams between the parts, follow the procedure outlined in the original post, i.e. in brief, speaking "Maya language"

  • Reduce Resolution
  • Render to finalgather file by setting Rebuild to "On" and specify a filename
  • Set the finalgather file to "Freeze"
  • Do the actual renders

/Z

2007-06-14

Doing BIG renders in max 9


I have received several questions on how to make very very high res renders in 3ds max with mental ray.

When you do this, there is a memory issue (worse on 32 bits) which makes some tiles turn black, and you get poor results. mental ray actually renders the image fine, but the individual image tiles get lost due to memory being full when sent over to max.

To help you solve this issue, I wrote this very simple script (Warning: I am not a MaxScript expert, this may cause your computer to catch fire and your wife to move to Iowa, use at your own risk) that allows you to split a render into "tiles".

You simply run the script, and a dialog pops up asking you how many "tiles" you want to break the image into. Pretty simple and self-explanatory. The render is broken into pieces, and saved as separate files, which you then can assemble in, say, Photoshop or similar.

There is one important point, though;

If you are using final gathering in the scene, you must do this from a saved final gather map, or you may get artifacts in the joints between the pieces.

In theory, I could add this to the script, but since I am no MaxScript expert (see above) and since I am not made out of time... I didn't.

To do this yourself:

1. Temporarily reduce the resolution of your render to something that renders withouth memory issues.
2. Turn on FG and tell it to write to file.
3. Set your min/max sampling temporarily to 1/64 and 1/64 for a really fast render (FG quality will not be affected by this!)
4. Render.
5. Set back original sampling (and resolution).
6. Set the FG map to "Read Only"
7. Run the script to do your "split render".

Hope this helps anyone stuck in "cannot lender large resolutions" land.


Enjoy.

/Z

2007-06-11

Conversion Script Update

The conversion script mentioned a few posts down has gotten a wee bit of an update, with some long standing bugs removed. Get the update script here. (Follow installation instructions in this post below).

Enjoy. (Or not, if it doesn't work, again... ;) )


/Z

2007-02-19

Max 9: Converting other materials to "Arch & Design"

If you want to have some cool tools for handling the Arch & Design material in Max 9 (including converting other materials - including vRay materials - into Arch & Design) you can use this script.

Save the file to your 3dsmax/scripts folder, and run it from the "MaxScript" menu.

Then go into the "Customize" menu and choose "Customize User Interface".

Go to "Menus", and on the left side open up the "mental ray" category.

On the right side, open up, say, the "Tools" menu (or any other of your choice).

Drag-and-Drop the "mr Arch Design Tools" to some cool place on that menu.

Voila - you have installed this nifty little add-on.

Note: A much simpler version of this script exists on the max 9 DVD in the sample scripts folder, but this variant is updated.

Enjoy! ;)

/Z